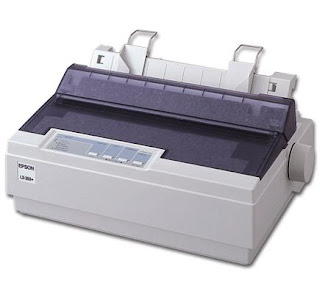
Printer's Self Test is one of the facilities contained in a printer. Each printer is almost certain to have this facility. Self test print done without using a computer as an intermediary device.
Objectives to test the printer without using a computer is needed to determine whether there is damage to the printer, such as can not do a print out or can find out the results print out the printer.
Printer's Self Test on the Dot Matrix Printer LX 300.
LF/FF + Power-On.
LF/FF + Power-On.
Objectives to test the printer without using a computer is needed to determine whether there is damage to the printer, such as can not do a print out or can find out the results print out the printer.
Printer's Self Test on the Dot Matrix Printer LX 300.
LF/FF + Power-On.
- Turn on the printer and insert the paper.
- Turn off the printer after a paper entry.
- Then turn it back on while pressing the FF (fast forward).
- So if your printer can print out the form of letters and numbers that print out the results was good, it means that your printer is in good condition.
LF/FF + Power-On.
- Make sure the printer is turned off and the paper-release lever is pushed back to the single-sheet position. Raise the paper guide upright.
- While holding down the LF/FF button, turn on the printer. The PAUSE light flashes.
- Slide the left edge guide until it locks in place at the guide mark. Next, adjust the right edge guide to match the width of your paper.
- Slide a sheet of paper down firmly between the edge guides until it meets resistance. The printer loads the sheet automatically.
- Press the PAUSE button. The printer begins printing the self test.
- To stop printing temporarily, press the PAUSE button.
- To end the self test, make sure the printer is not printing. Press LF/FF to eject the sheet, then turn off the printer.


Thanks, very helpfull
ReplyDelete