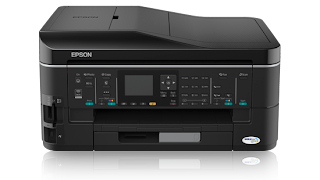
Epson All-In-Ones printer with an LCD screen : BX600FW, BX610FW, BX625FWD, PX700W, PX710W.
Printer Operation Check (Self Test) procedure :
- Make sure both the printer and computer are turned off.
- If using a USB or Ethernet connection, disconnect the cable from the interface connector of the printer.
- Make sure that A4 size paper is loaded in the auto sheet feeder. For the PX700W/PX710W, make sure that A4 size paper is loaded in the main tray in the paper cassette. If your printer has a CD/DVD print feature, check that it is not in CD/DVD mode or if your printer came with a CD/DVD tray, that the tray is not inserted in the printer.
- Press the On button to turn on the printer.
- Press the Setup button to enter the setup mode.
- Press the Left or Right button to select Maintenance, then press the OK button.
- Press the Up or Down button to select Nozzle Check, then press the OK button.
- Press the Start button to start the ink nozzle check.
- A test page prints showing a nozzle check pattern.


0 comments:
Post a Comment